


1. Find the side of your Apple Pencil Case labeled "Magnetic"
Although our Apple Pencil case design is aesthetically seamless, only one side of the case is built to work with the magnetic charging. In some instances, other sides of the case will still attach magnetically, but will not charge so make sure you have properly located the side of the case labeled "Magnetic."

2. Align the side labeled Magnetic with the FLAT edge of your Apple Pencil that connects to your iPad
If your Apple Pencil isn't charging when the case is installed, it's likely because the side labeled "magnetic" is NOT aligned with the flat edge of your case. When sliding your pencil case on, be sure that it does not rotate or shift.

3. Attach the eraser to the end of your Apple Pencil
Add the "eraser" end cap to the end of your pencil to finish the installation!

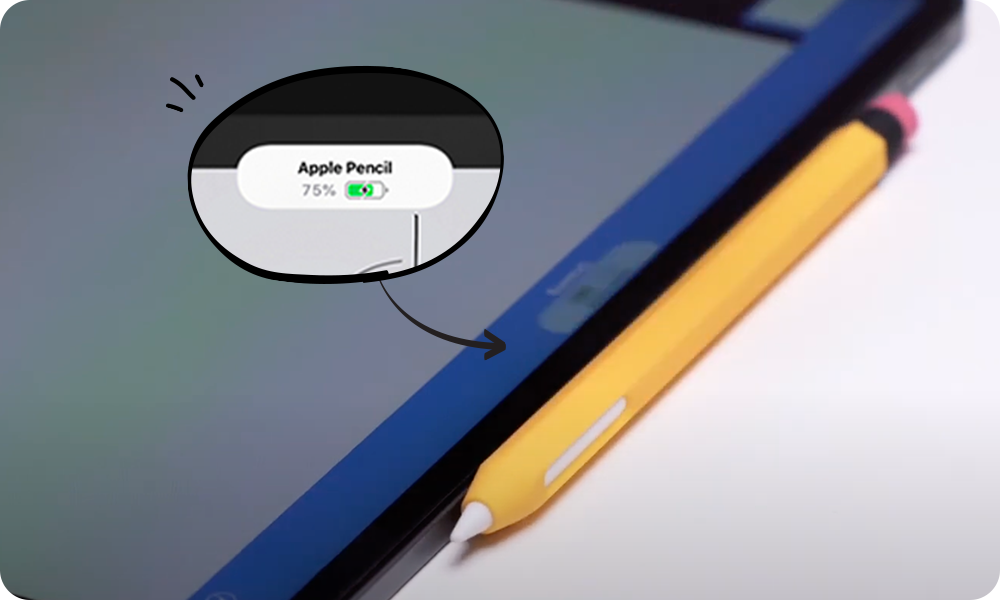
4. Connect your Apple Pencil case to the side of your iPad
If installed correctly, it should attach and charge. You're done! If you have any further complications, be sure to watch our walkthrough video.