
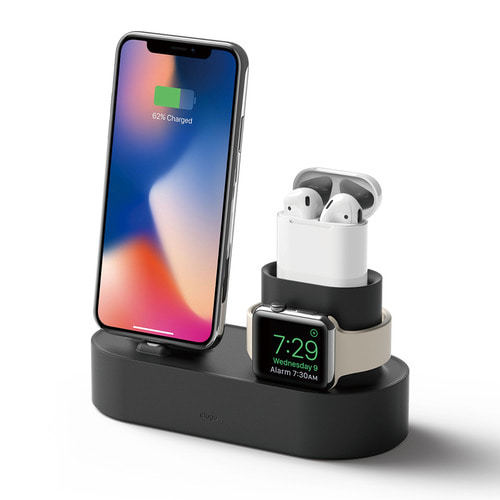
![3 in 1 Charging Hub [Type A]](http://www.elago.com/cdn/shop/files/376d75231b8ca4ba2cf7e10346b1b9a2.jpg?crop=center&height=500&v=1713550851&width=500)
![3 in 1 Charging Hub [Type A]](http://www.elago.com/cdn/shop/files/c3044817e769c99aa6f78fa236e15d02.jpg?crop=center&height=500&v=1713550851&width=500)
![3 in 1 Charging Hub [Type A]](http://www.elago.com/cdn/shop/files/d5a837c05171d287551fc11f95dae7be_6fa842d3-d11c-40c8-974c-230d5ee3e6dd.jpg?crop=center&height=500&v=1713550851&width=500)
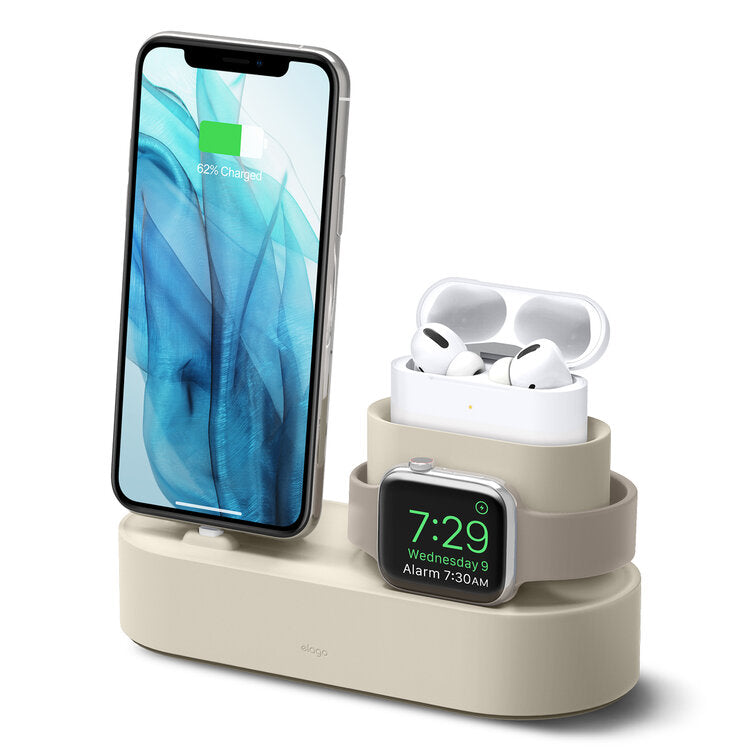
![2 in 1 Charging Dock [4 Colors]](http://www.elago.com/cdn/shop/products/ST-PRODUO-CWH_Amazon.jpg?crop=center&height=1240&v=1713993399&width=1240)
![2 in 1 Charging Dock [4 Colors]](http://www.elago.com/cdn/shop/products/ST-PRODUO-LVG_28Amazon_29_e1a27191-8728-4679-8ec1-a92dc009bf11.jpg?crop=center&height=1000&v=1713993399&width=1000)
![2 in 1 Charging Dock [4 Colors]](http://www.elago.com/cdn/shop/products/ST-PRODUO-PK_28Amazon_29_269b7132-182b-438e-90db-ca403e67b342.jpg?crop=center&height=1000&v=1713993399&width=1000)
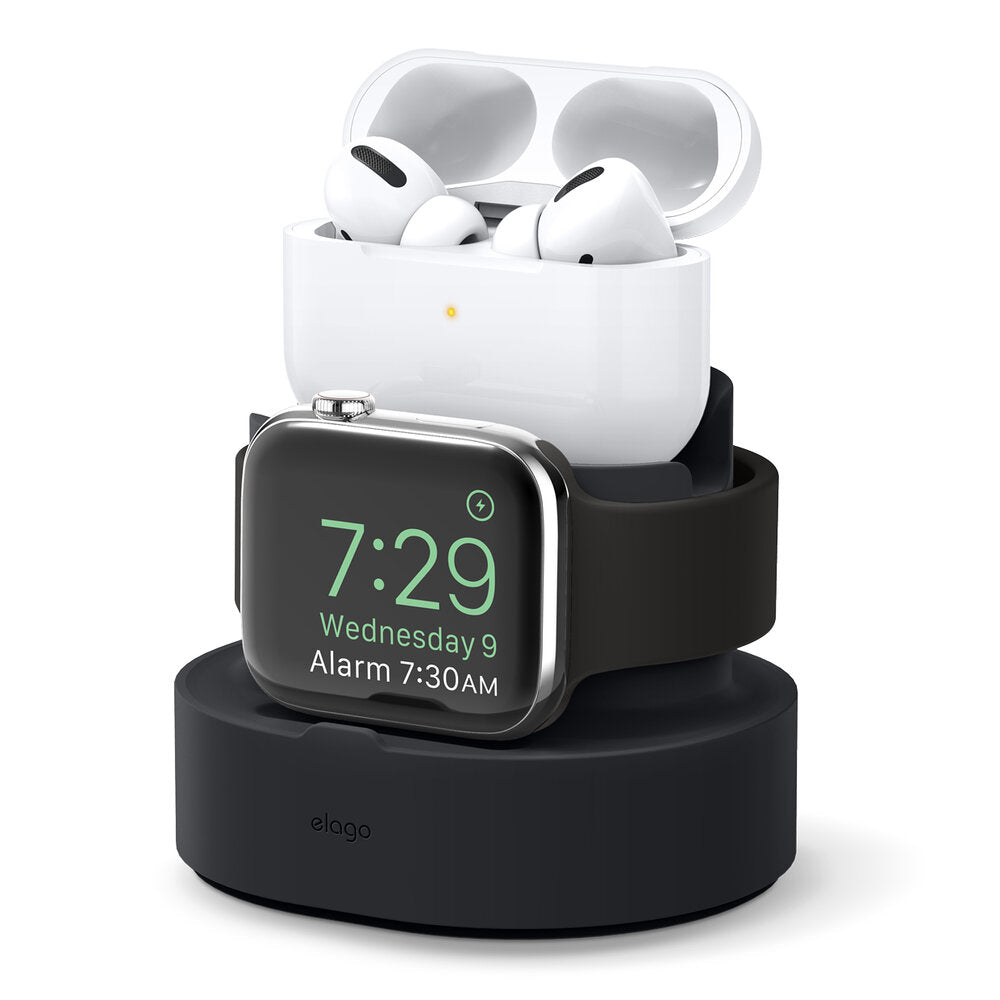
![3 in 1 Charging Hub [Type B]](http://www.elago.com/cdn/shop/products/51un3ZYhuqL._AC_SL1500.jpg?crop=center&height=1500&v=1692123556&width=1500)
![3 in 1 Charging Hub [Type B]](http://www.elago.com/cdn/shop/products/614hJ6TwbAL._AC_SL1240.jpg?crop=center&height=975&v=1692123556&width=975)
![3 in 1 Charging Hub [Type B]](http://www.elago.com/cdn/shop/products/51dRmjhVCaL._AC_SL1500.jpg?crop=center&height=1500&v=1713900777&width=1500)

Over time, the tip of your Apple Pencil may wear out, affecting its precision and performance. Using a worn down Apple Pencil tip can shorten the lifespan of both your pencil and your iPad screen, which is why it's important to replace it regularly. Fortunately, replacing the tip is a simple process that can extend the life of your Apple Pencil. In this blog post, we will walk you through the step-by-step process of replacing your Apple Pencil tip, and we'll also recommend high-quality replacement tips by elago to enhance your drawing experience.
Step 1: Prepare Tools
Before we begin, make sure you have the following tools ready:
Replacement tips: We recommend using the Apple Pencil replacement tips by elago for a premium experience. elago offers two great optionn

These durable metal tips provide enhanced pen-like precision, fine & thin writing, and durability for both the Apple Pencil 1 and 2.

This pack includes four silicone tips designed from the same material as the original Apple Pencil tips to deliver unwavering quality and reliability for both the Apple Pencil 1 and 2.
Step 2: Remove Old Tip
Fine-tipped tweezers will assist you in removing the old tip and inserting the new one. Let's begin by carefully removing the worn-out tip from your Apple Pencil. Hold your Apple Pencil firmly, and while gripping the tip between two fingers, gently unscrew the tip of your pencil in a counter clockwise direction. Although there should be little to no resistance, you can use fine tipped tweezers to assist your grip.
Step 3: Screw on Replacement Tip
Gently align your new tip onto the pencil, and lightly screw clockwise to ensure it's right. Don't force it or use to much pressure, and note that a very slight gap between the tip and the pencil is completely normal.
It's time to test your Apple Pencil with the new replacement tip to ensure everything is working correctly: Open a drawing or note-taking app on your iPad, begin using your Apple Pencil and evaluate its responsiveness and accuracy.
For a further video tutorial of this process, check out our TikTok page here.